HOW TO WRAP THOSE GIFTS LIKE A TRUE PRO! (STEP-BY-STEP ON HOW TO WRAP PRESENTS NICELY)
- Moni's Cleaning Service

- Dec 7, 2021
- 4 min read
Updated: Dec 20, 2021

With the #holiday season almost around the corner, you might be going through the task of picking up the perfect #gifts for your loved ones. But what about perfectly wrapping the presents into a seamless package to make them even more impressive?
If perfectly wrapping a gift is something that haunts you, you've landed at the right place. We've curated a small guide to help you wrap the #presents in the most meticulous manner, just like a pro.
You'll be amazed how wrapping gifts would become such a swift process for you, whether it's for Christmas or even birthdays and anniversaries.
With just a little bit of practice, you'll soon excel in this fun task and extend your creativity to make your present even more aesthetically appealing by adding some DIY ideas and a personalized touch, showing all your affection for your loved ones.
Pro Tips to Wrap a Gift
Before you get started, here are some interestingly useful tips to make your packing even more awesome!
Pick a color scheme - select your wrapping papers wisely, one that would complement well with the ribbons and other embellishments you've chosen. Remember, you don't want your packaging to end up looking too cluttered.
Choose the right wrapping paper - To get a meticulously wrapped present, a thicker wrapping paper is always better!
Use double-sided tape - A double-sided tape would give you a seamless look, minimizing any seams.
Guide To Perfectly Wrap a Gift!
Follow these steps to perfectly wrap your gifts like a Pro!
Step 1 - Cut the Wrapping Paper

Spread open your wrapping paper and place the box of your present with its face upside down on the gift wrap. This ensures that any seams occur on the backside of the box.
Bring the wrapping sheet on top so that the sheet properly covers both sides of the box, leaving some extra paper as well. Once you've estimated how much wrapping paper you need, cut it.
Step 2 - Fold And Adhere The Wrapping Paper

Adhere the smaller side of the paper covering the bottom of the box by bringing it up the sides and towards the top, securing it thoroughly with a piece of tape.
Now pull the bigger side of the paper tensely on top of the box, leaving no wrinkles, creasing the paper along the edges with your thumb and fingers, and adhere it to the other end of the box with tape. A little bit of overlap between the two ends is recommended since it would make the wrapping neater.
Step 3 - Stick the Open Ends
Now that you've secured the major part of the wrapping sheet on the box, you're left with the edges that need to be tackled.
Starting from one side of the present, create small enveloped flaps of about 45° on each side, such that they appear as small, little wings and crease sharply along these flaps.
Flatten the top flap onto the side of the box, creasing it well and cutting any extra paper. Follow the same with the lower flap such that it lines immaculately with the bottom flap, cutting any extra sheet, and fasten the two in place using the tape.
Step 4 - Complete the Open Ends On Both Sides
Repeat the entire step 3 with the other open end of the box. Make sure to crease all the folds thoroughly along the edges to give your wrapping an incredibly neat look.
Step 5 - Top up with a Bow or Ribbon

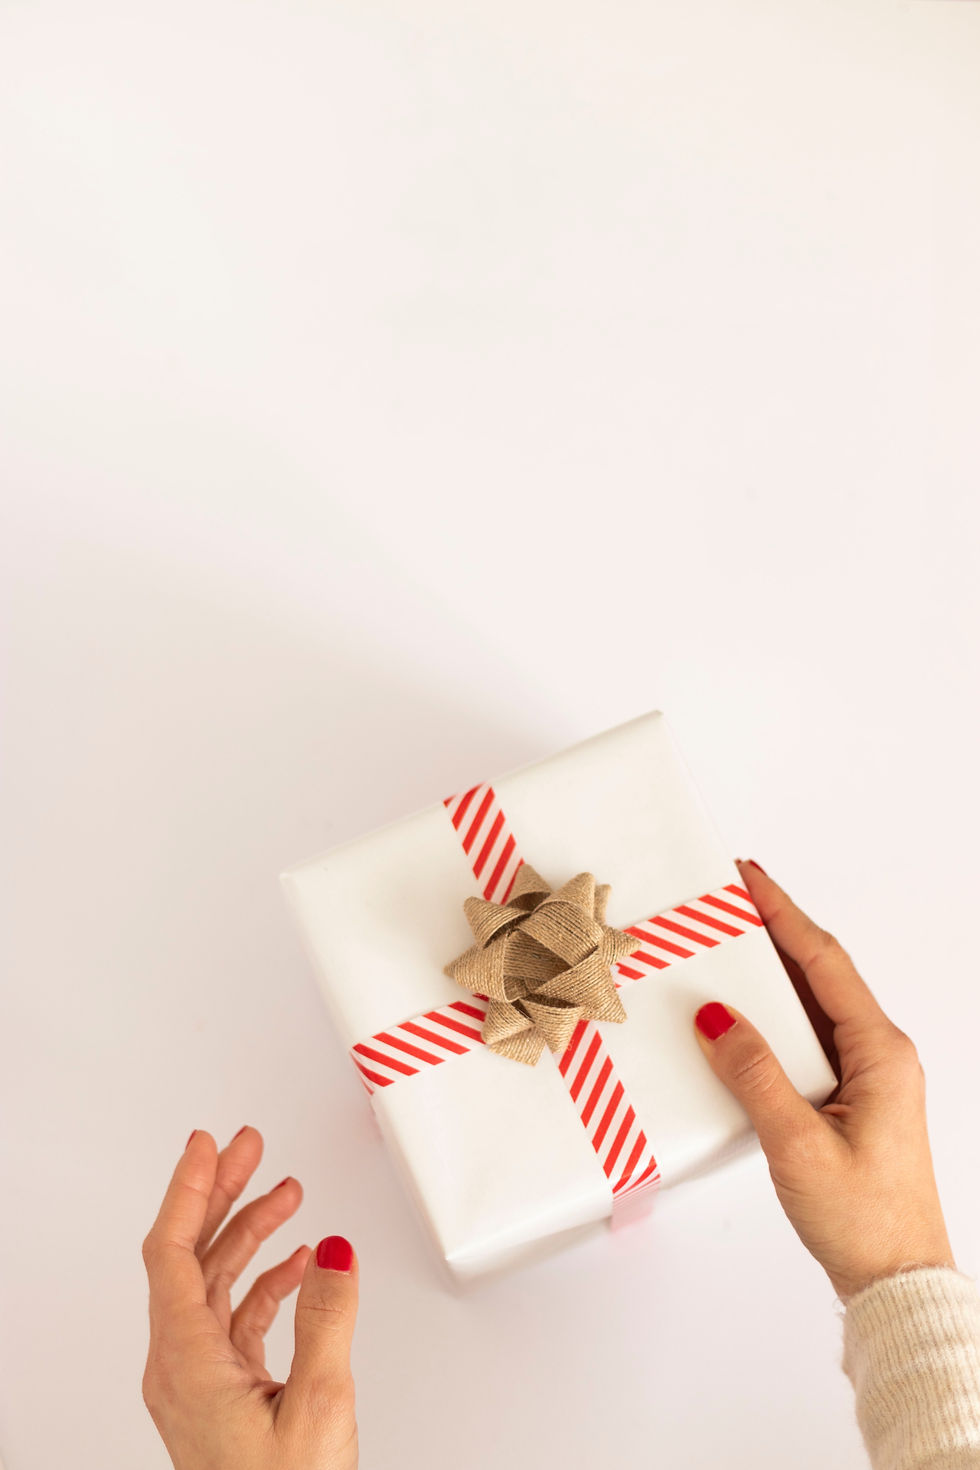
Here's the fun part - adding a little bit of embellishments to your gift. Use ribbons or bows that stunningly complement your wrapping sheet. You could either stick to a specific color scheme or use printed or decorated ribbons to add a spark to your present.
Here's how to tie a ribbon.
You'll be needing a sufficiently lengthy strand of ribbon, almost 5 times the length of the box.
Lay your box with its face down on the length of the ribbon. Bring both the ends together on the upper side of the box. Cross them over and pull width-wise so, creating a cross shape.
Turn the box over and pull the remaining ends of the ribbon on top. With a cross-shaped layout of the ribbons on top of your present, you'll be left with roughly the same size of ribbon on both the sides.
Thread each end of the ribbon under the already set ribbon and form a knot. In fact, tie a double knot to strengthen it properly, tying a bow over it. Make sure you perfectly shape the bow and adjust the loops with your fingers to give it a presentable look.
Neatly cut the ends of the ribbon into a fork shape to perfectly finish the bow.
Step 6 - Add Finishing Touches

Now that you've gorgeously layered the wrapping paper on the box, it's now time to use your decorative accent skills to make your wrapping unique. It's here where you can add some personalized touch to your present.
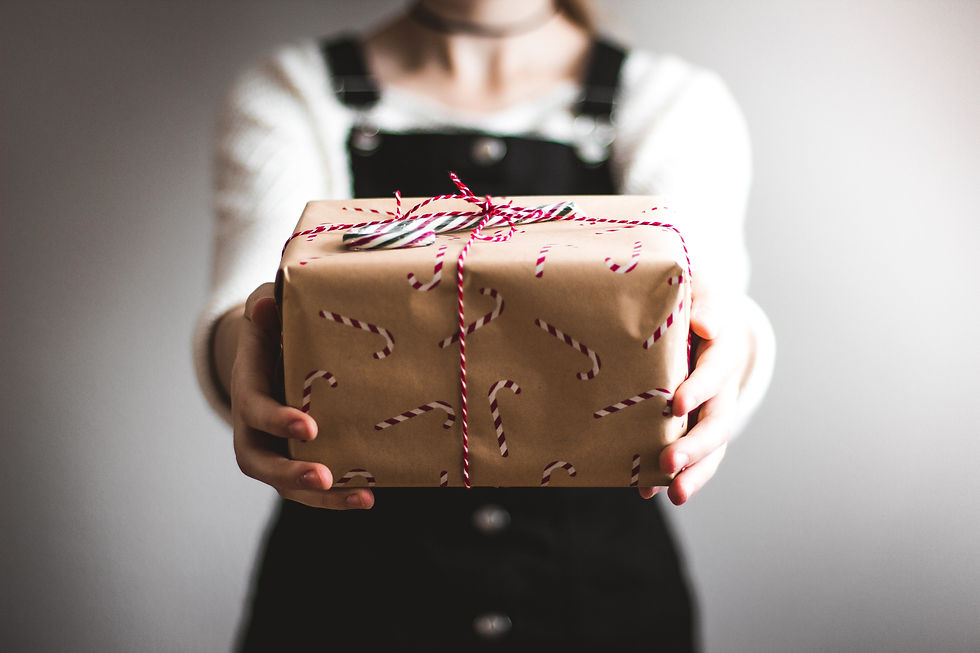
Think out of the box of ways to make your present truly stand out. Apart from the customized gift tag that you'll be attaching, give the present a decorative look by embellishing it with mini ornaments, a jingle bell, candy canes, etc.
Here, you've wonderfully wrapped the presents for your #lovedones. We hope you liked the tips and #tricks we shared.
Happy Holidays!
.png)


Comments